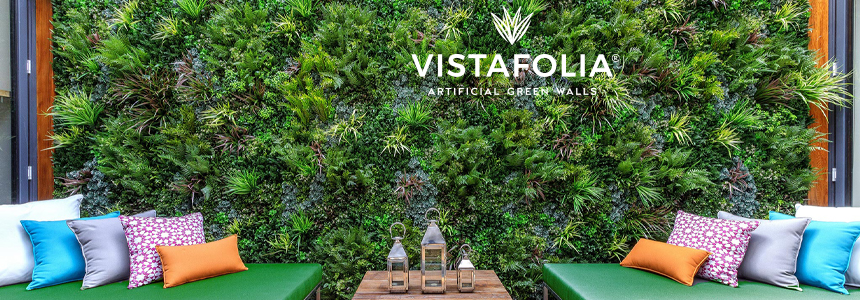
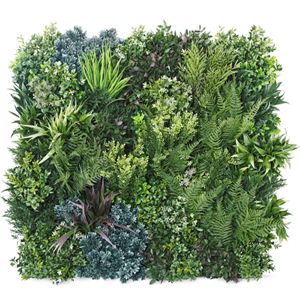
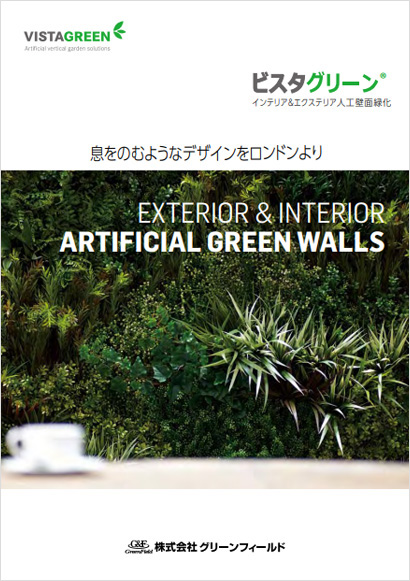
Vistafolia® is an artificial plant made of polyethylene. It is our original wall greening panel with detailed designs. With Vistafolia®, a high-quality wall greening is realized simply by installing 80 cm by 80 cm panels on iron mesh with plant arrangements created by a famous London designer and gardener.
Product characteristics
UV protection
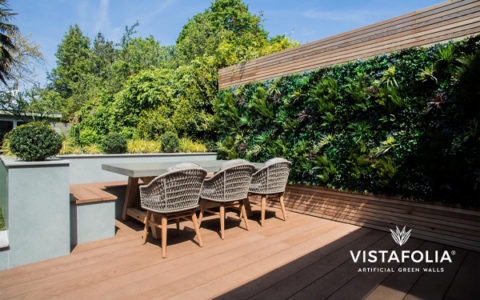
Vistafolia® is UV-resistant and therefore can be used both indoors and outdoors.
Easy installation
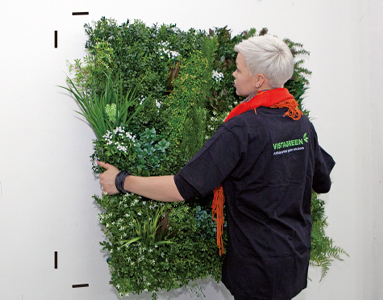
Installation of Vistafolia® is very easy. Just provide four plastic fixing members per panel and install the panel on the wall. Drill holes in the marked sections of the wall surface and securely attach the anchor points using screws. Then, attach panels onto the fixing members.
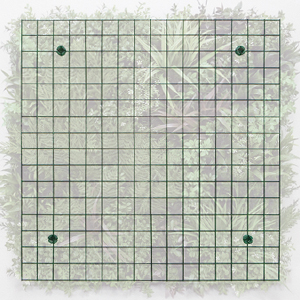
High durability eliminates the necessity of maintenance for a long period.
Maintenance required for real plants, such as watering, is unnecessary. There is no risk of withering or pest problems.
Maintains clear green throughout a year
The very realistic and natural design creates a breathtaking landscape when installed in larger areas. The panels produce a luxurious space throughout the year without withering like real plants.
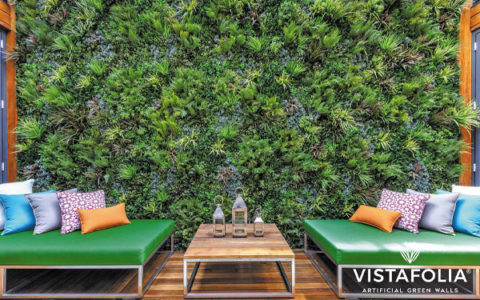
Specification of Vistafolia® artificial wall greening panel
Vistafolia® artificial wall greening panel
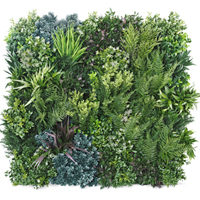
| Item number | Materials | Remarks |
|---|---|---|
| VG-P3P | Polyethylene (artificial plants) Iron (wire mesh) |
Weight: about 8 kg (containing 3 panels + 12 sets of fixing members) |
| VG-P1P | Polyethylene (artificial plants) Iron (wire mesh) |
Weight: about 8 kg (containing one panel + four sets of fixing members) |
- *The photo shows one panel.
Fixing members
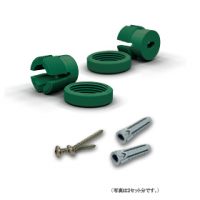
| Item number | Specifications |
|---|---|
| VG-BS | Fixing members x four sets Four screws and resin plugs x one Backing paper x one |
How to install
Installation method
|
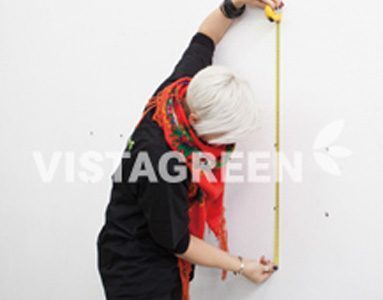
STEP 1 |
Measure 800 mm by 800 mm and determine the position of installation.
|
|---|---|
|
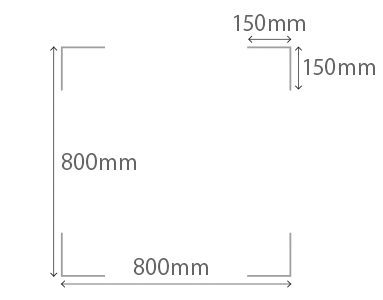
STEP 2 |
Mark four corners.
|
|
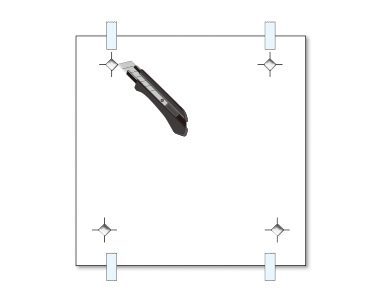
STEP 3 |
Cut out the ◇ section of the attached backing paper using a utility knife and paste it onto the marked position.
|
|
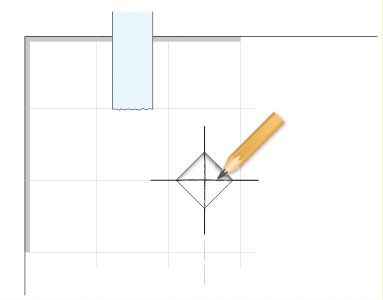
STEP 4 |
Place a scale on the cut out ◇ section and mark there by drawing a cross.
|
|
STEP 5 |
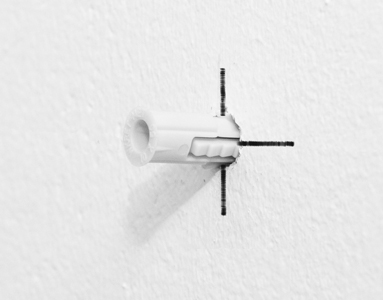
Drill a hole with a diameter of about 8 mm at the marked position. After drilling the hole, clean inside the hole.
|
|
STEP 6 |
Insert the attached resin plug.
|
|
STEP 7 |
Make sure that the long hole of the ribbed anchor is turned sideways.
|
|
STEP 8 |
Attach the fixing members with screws.
|
|
STEP 9 |
Attach the Vistagreen® panel onto the fixing member.
|
|
STEP 10 |
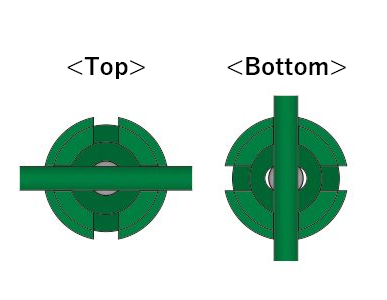
Fit top two sections onto the horizontal line of the base mesh and the bottom two sections onto the vertical line of the base mesh.
|
|
STEP 11 |
Secure the panel by turning the screws.
|
|
STEP 12 |
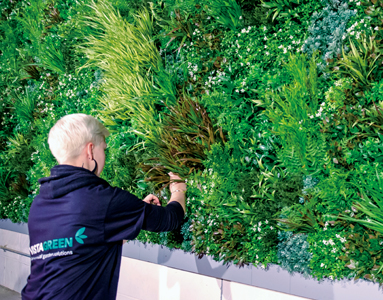
Arrange the leaves to create overall volume.
- Pay attention to the top and bottom sides of the panel. |
Case study
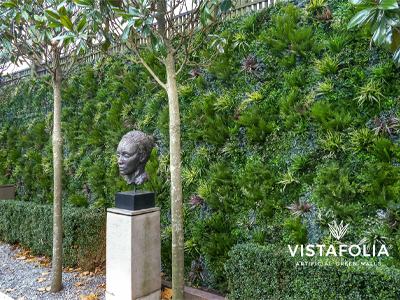 Overseas: Garden
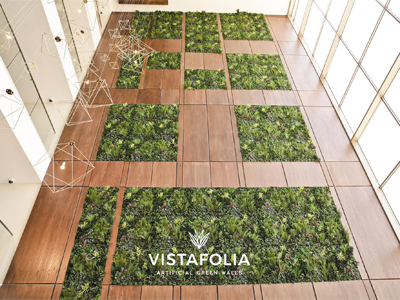 Overseas: Airport
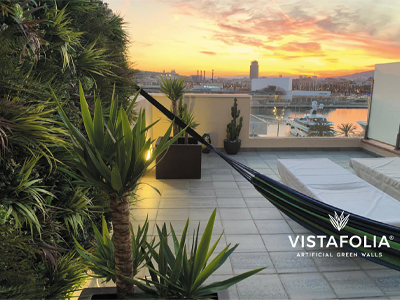 Overseas: Veranda garden
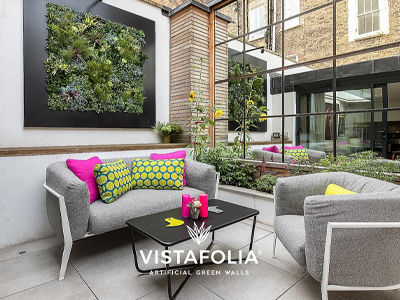 Overseas: Terrace
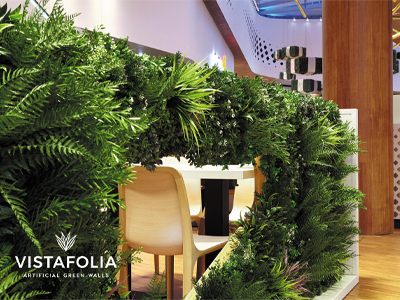 Overseas: Restaurant
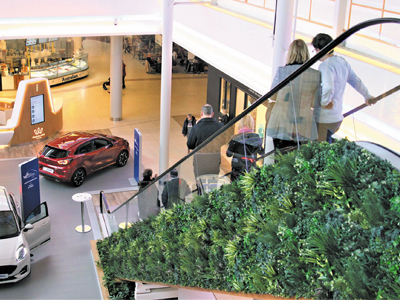 Overseas: Shopping centre
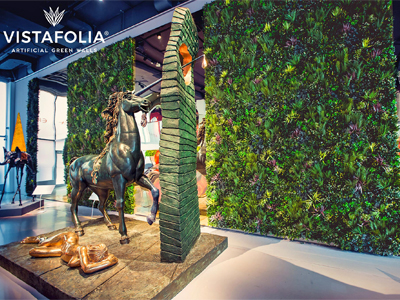 Overseas: Museum
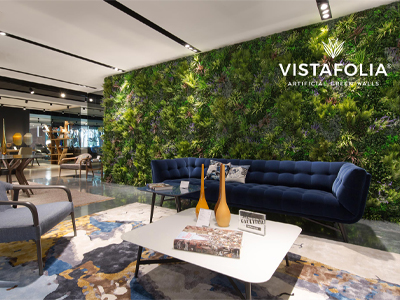 Overseas: Showroom
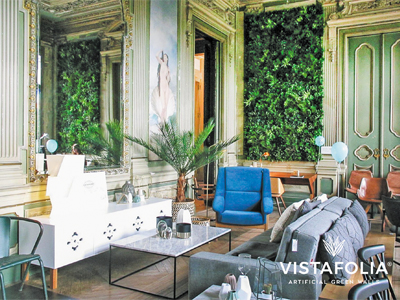 Overseas: Event hall
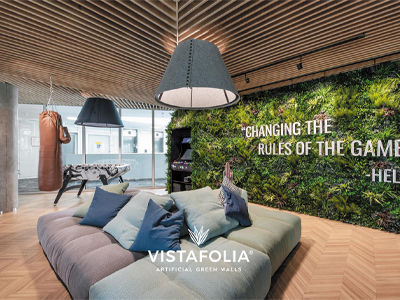 Overseas: Office
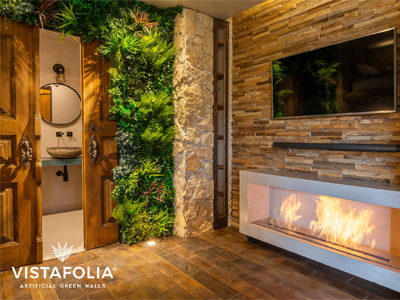 Overseas: Interior
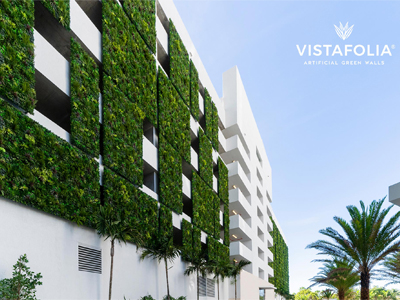 Overseas: Exterior wall
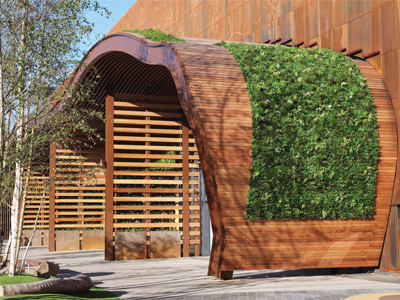 Overseas: Shopping center
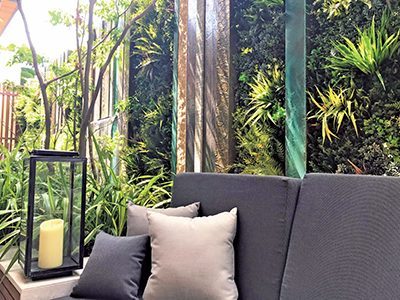 Japan: Showroom
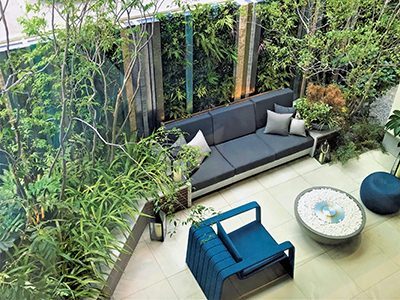 Japan: Showroom
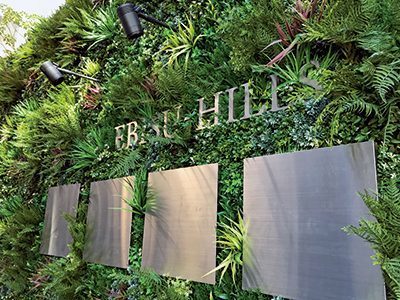 Japan: Building entrance
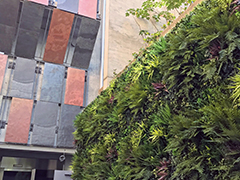 Japan: Building entrance
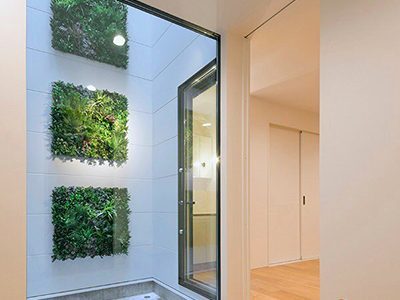 Japan: Atrium in a house
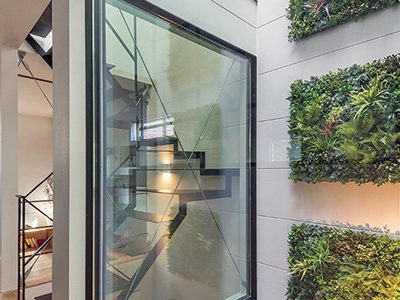 Japan: Atrium in a house
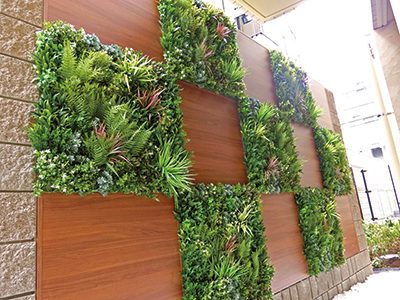 Japan: Apartment entrance
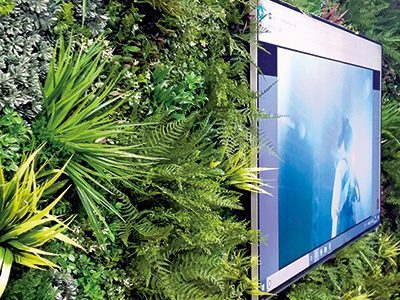 Japan: Office
 Japan: Showroom
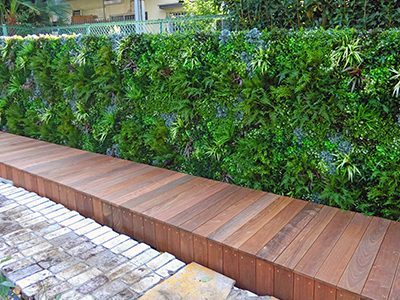 Japan: School courtyard
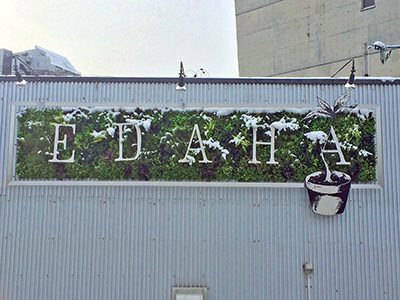 Japan: Signboard
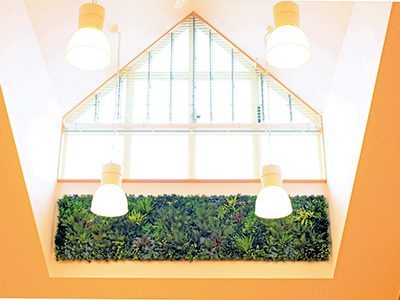 Japan: Kindergarten hall
FAQs
Product catalog
Please feel free to contact us and request a product catalog.
